Baby Bat Crochet Pattern (Free Amigurumi with Bow Tie)
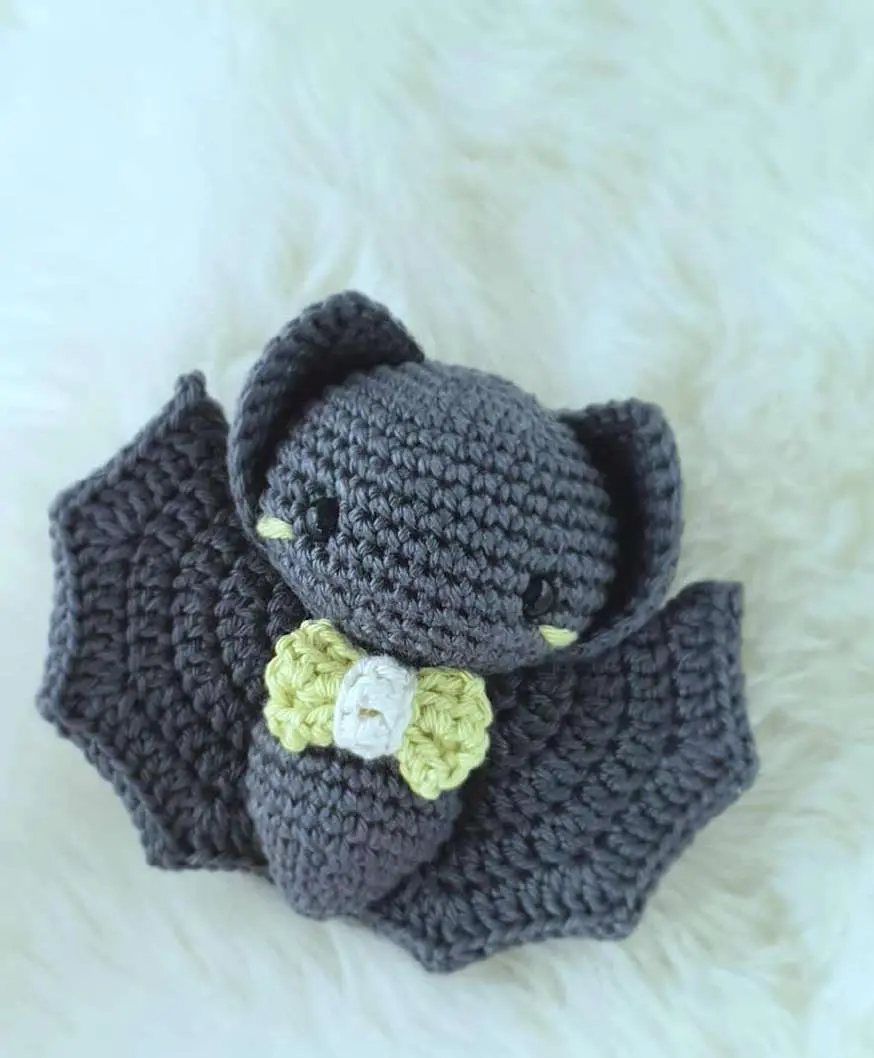
Crochet a tiny baby bat with a bow tie. Free pattern with every round, stitch counts and step-by-step photos.
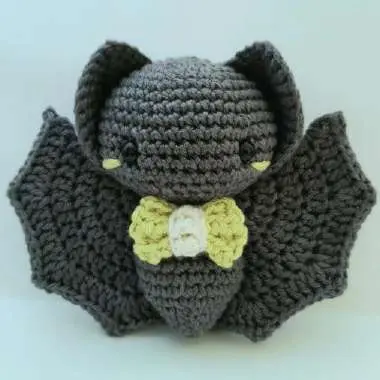
This little baby bat is a sweet, spooky-cute amigurumi: a round head with embroidered blush, pointed ears, folded dc wings and a tiny bow tie. It works up small in fine cotton, and the photos below show each tricky step, from placing the eyes to sewing the wings.
Pattern design: Claire Molyneaux. Written with stitch counts for every round, so you can check your work as you go.
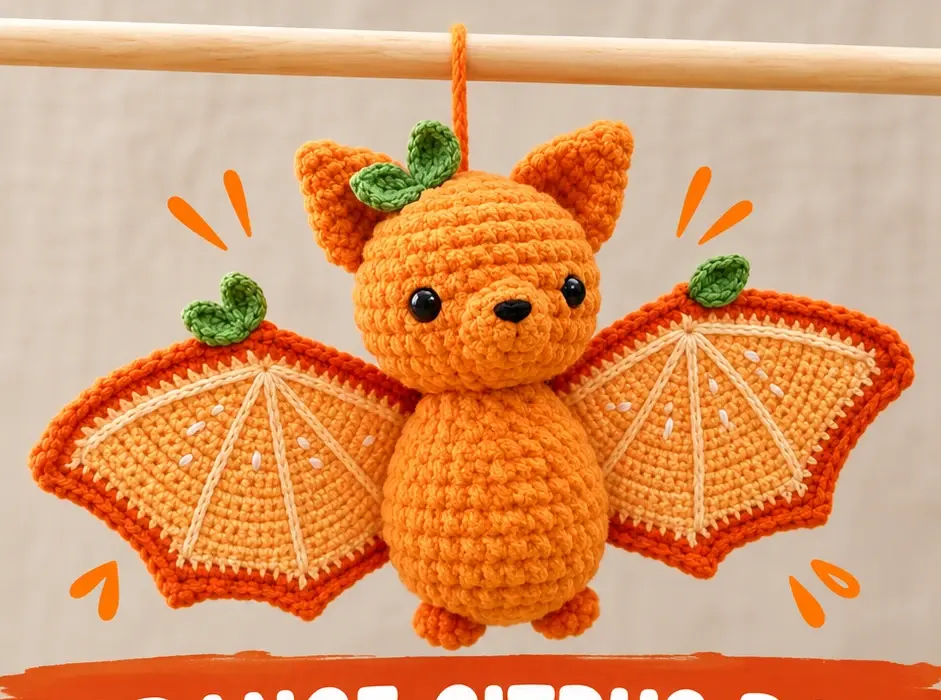
Like spooky-cute toys? See our Orange Citrus Bat and Bat Plushie, or browse more amigurumi patterns. New to the technique? Read about amigurumi.
Materials
- 2.25 mm hook. Use a hook suited to the yarn you choose.
- About 25 g of yarn in your main color. The sample uses Scheepjes Catona in Anthracite (501), Dark Olive (387) and Bridal White (105).
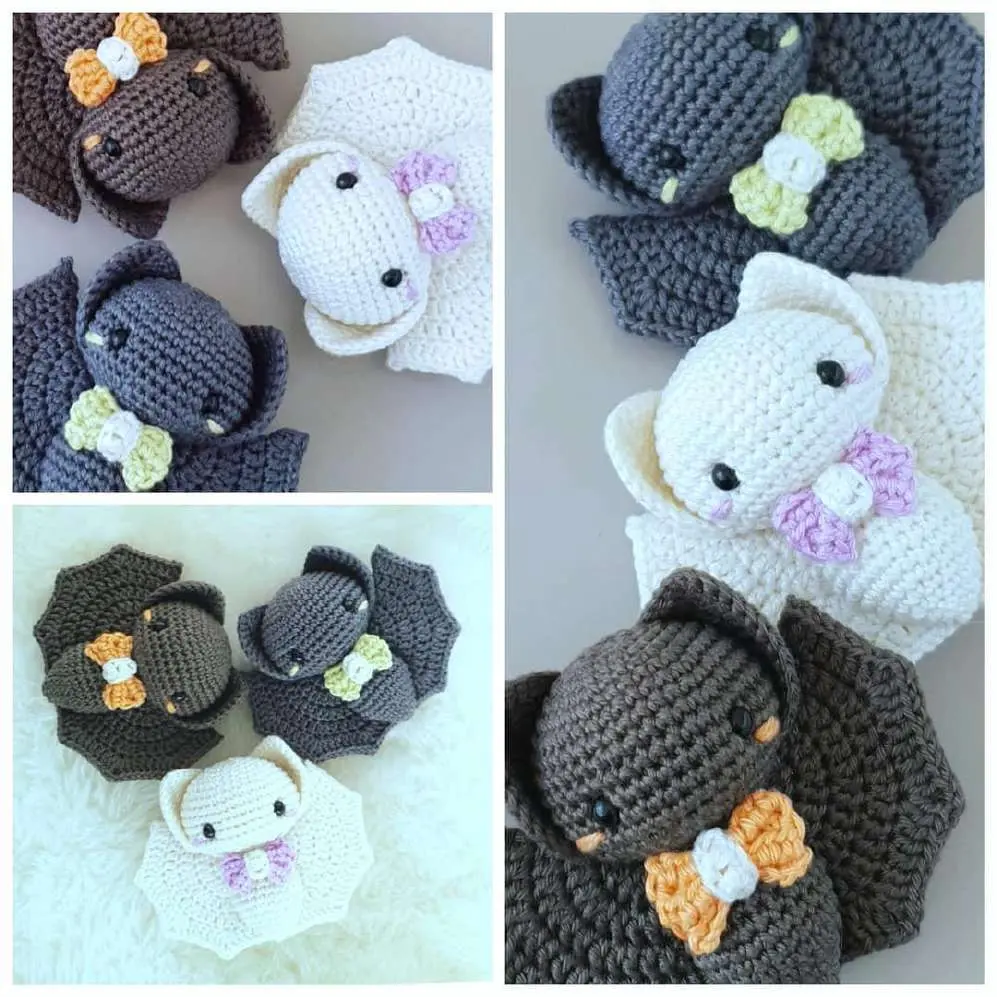
- A small amount of yarn in an accent color for the blush and bow tie. The sample uses Scheepjes Catona in Lime Juice (392), Apricot (524) and Light Orchid (226).
- A small amount of white yarn for the bow tie knot
- 6 mm safety eyes (you may need larger eyes, depending on your hook and yarn size)
- Stuffing
- Tapestry needle
- Pins
- Scissors
Abbreviations (US terms)
mr: magic ring · ch: chain · sc: single crochet · hdc: half double crochet · dc: double crochet · inc: 2 sc in the same stitch · dec: single crochet 2 together · sl st: slip stitch · FO: fasten off · 3sc: 3 sc in the same stitch · 2sc: 2 sc in the same stitch · dc-inc: 2 dc in the same stitch · [ ] xN: repeat the steps in brackets N times · Rnd: round
Instructions
1. Head
Important: keep your tension consistent through the whole project, including the wings (dc). Only make very tight sc if you can also make very tight dc. In your main color, start with 6 sc in a magic ring.
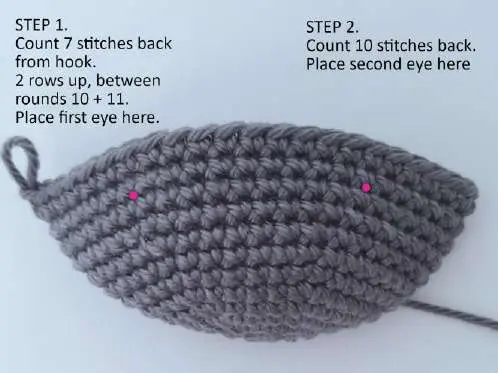
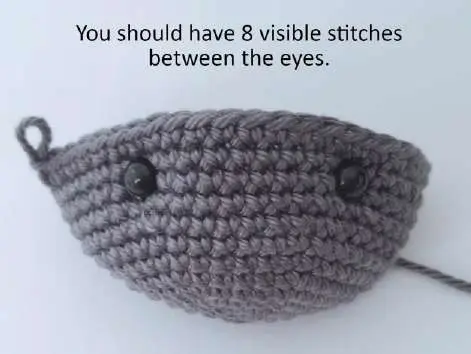
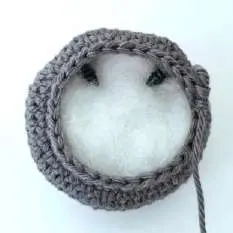
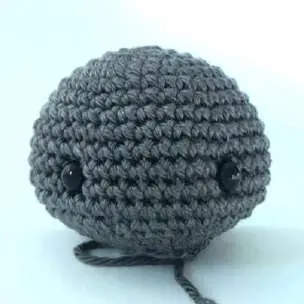
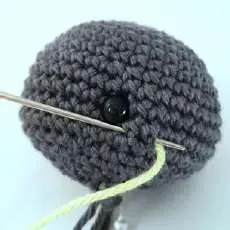
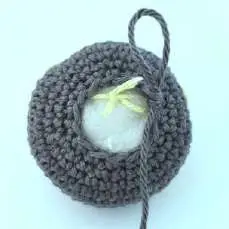
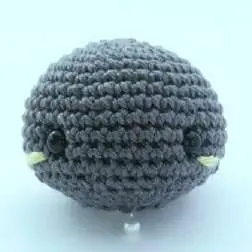
Placing the eyes: count 7 stitches back from the hook, then go up 2 rows, to between rounds 10 and 11, and place the first eye. Count 10 stitches back and place the second eye. You should have 8 visible stitches between the eyes. Take your time stuffing and shaping the head, because it really is worth it for that cute face! When you are happy with the shape, move on to the blush.
2. Embroider the blush
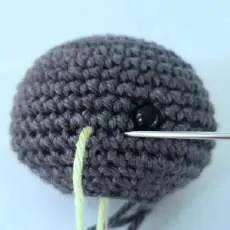
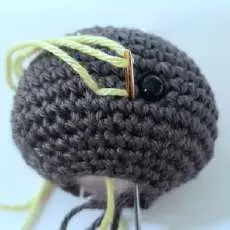
Use your small amount of accent color for the blush.
3. Body
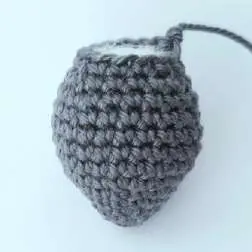
Continue with your main color and start with 6 sc in a magic ring.
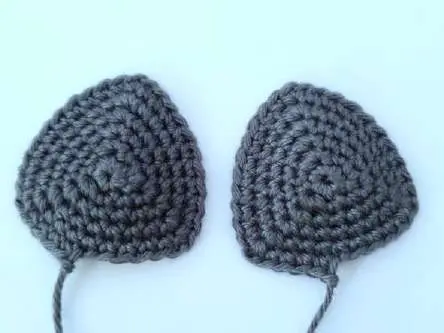
4. Ears (make 2)
Start with 6 sc in a magic ring.
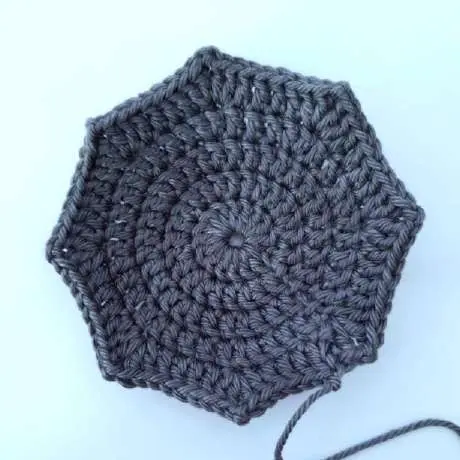
5. Wings (make 2)
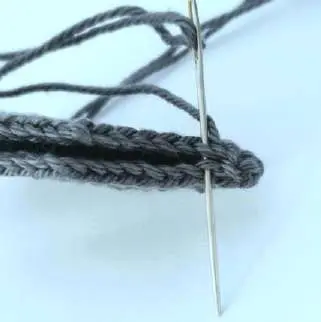
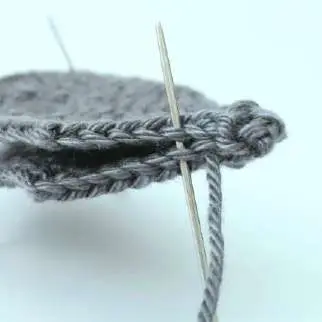
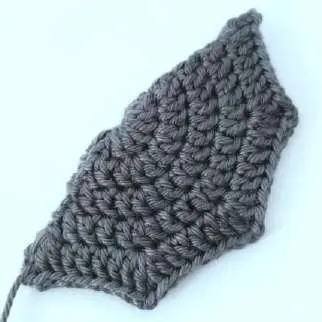
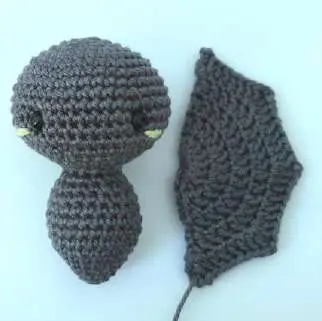
Important: keep your dc stitches neat and compact. The finished wing should be almost as tall as the head and body. Small differences do not matter, but if your wing is much larger, you may need a smaller hook.
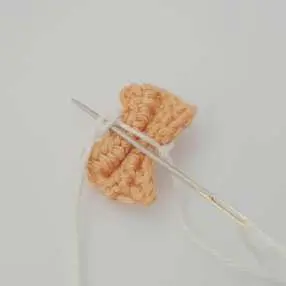
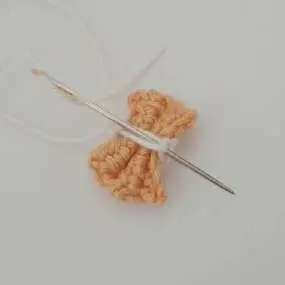
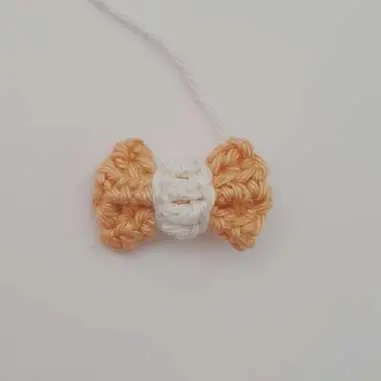
6. Bow tie
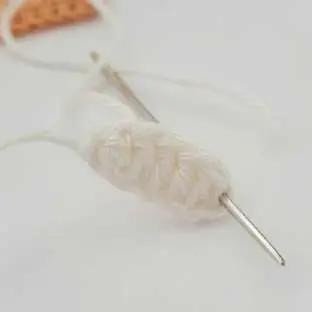
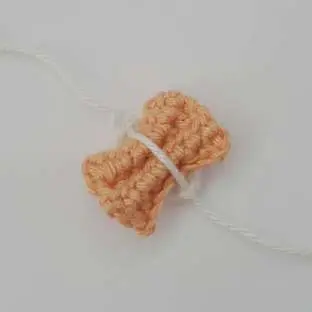
The bow tie should look slightly oversized. As a guide, it should be roughly the same width as the eyes. You can add or remove chains, or use a different hook, to get the right size.
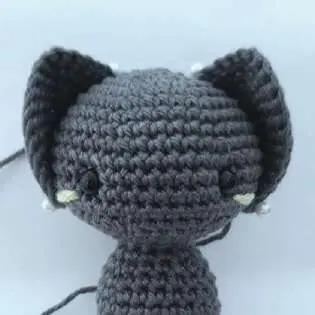
7. Attach the ears
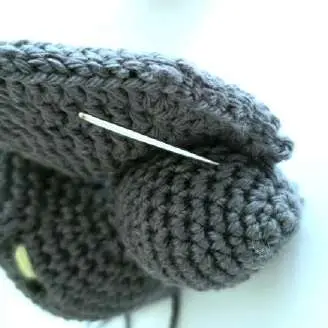
Always check how the ears look from the front before you sew. You may need to adjust the position slightly. If you do, first check point C, because pinning or unpinning an extra stitch or two may fix it. If that does not help, leave point A the same and adjust points B and C to get the look you want.
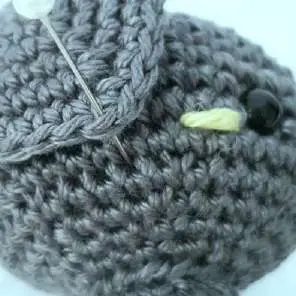
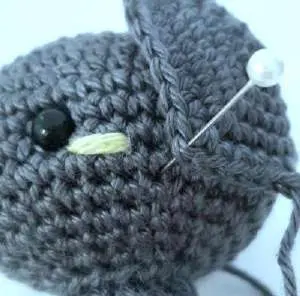
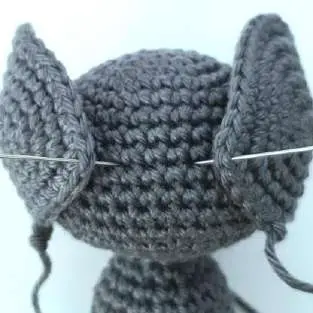
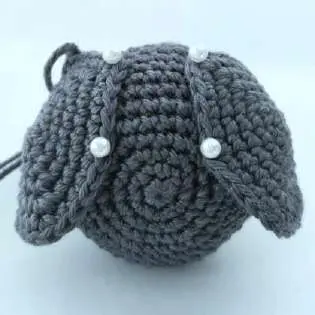
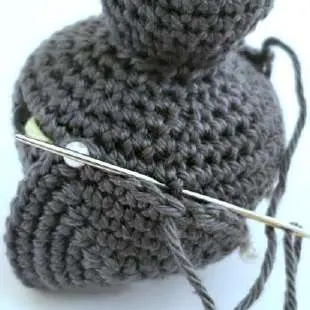
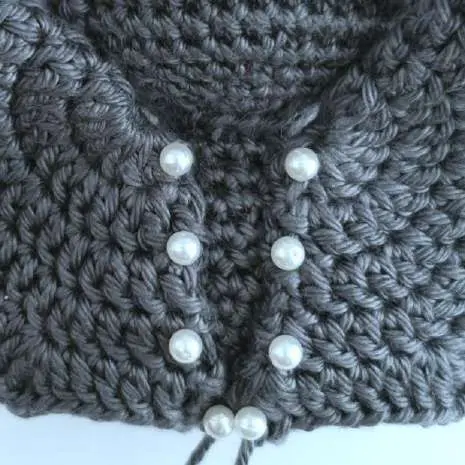
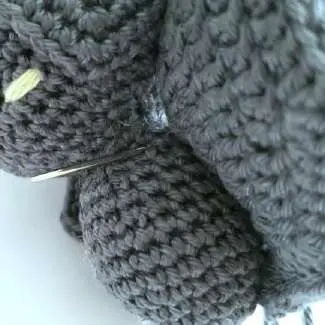
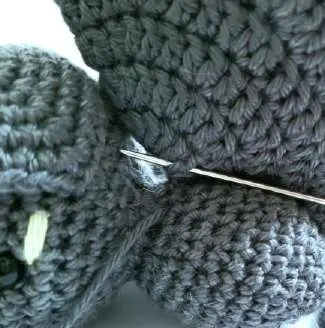
8. Attach the wings and bow tie
Tips for a neat result
- Keep your tension even. Only make very tight sc if you can also make very tight dc, so the wings match the body.
- Do not put the backs on the safety eyes until the head is ready for stuffing.
- Stuff the head a little at a time and pad around the eyes, so the face stays straight and forward.
- Pin everything and check from the front before you sew.
- If your wing is much bigger than the head and body, try a smaller hook.
More amigurumi to try
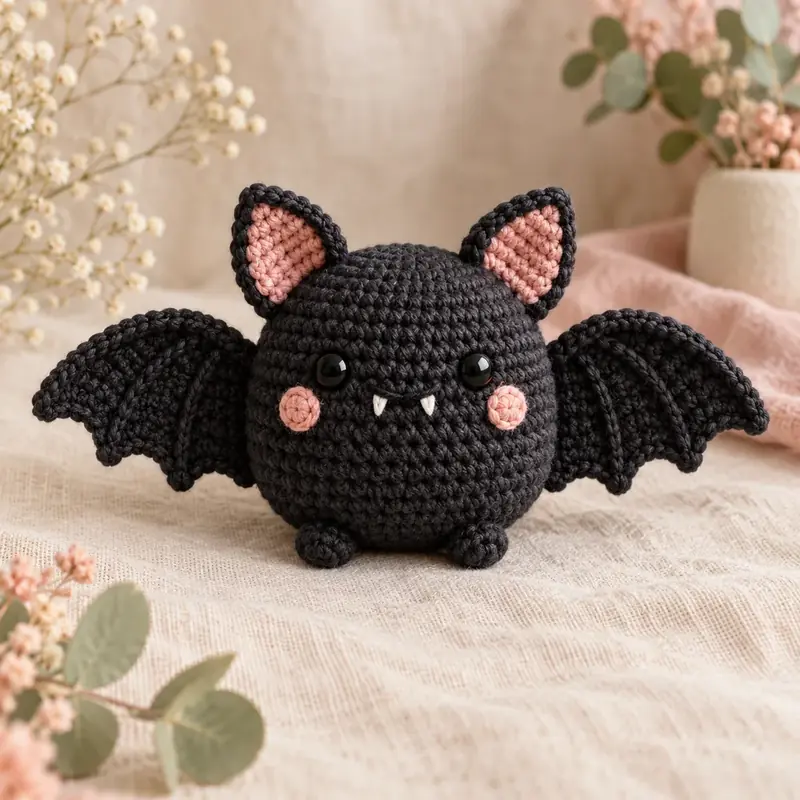
Make a whole spooky set with our Orange Citrus Bat, the black Bat Plushie with rosy cheeks, or the sleepy Bunny Lovey. All our toys are in Amigurumi.
Frequently asked questions
What yarn is best for this baby bat?
The sample uses Scheepjes Catona, a fine cotton, with a 2.25 mm hook. Any smooth 4-ply cotton works, as long as you use a hook small enough for tight stitches so the stuffing does not show.
What size are the safety eyes?
6 mm eyes are used with the suggested yarn and hook. If you use thicker yarn and a bigger hook, you may need larger eyes.
Why is my wing too big?
The finished wing should be almost as tall as the head and body. If it is much larger, your dc stitches are loose. Try a smaller hook and keep the stitches neat and compact.
Can I change the colors?
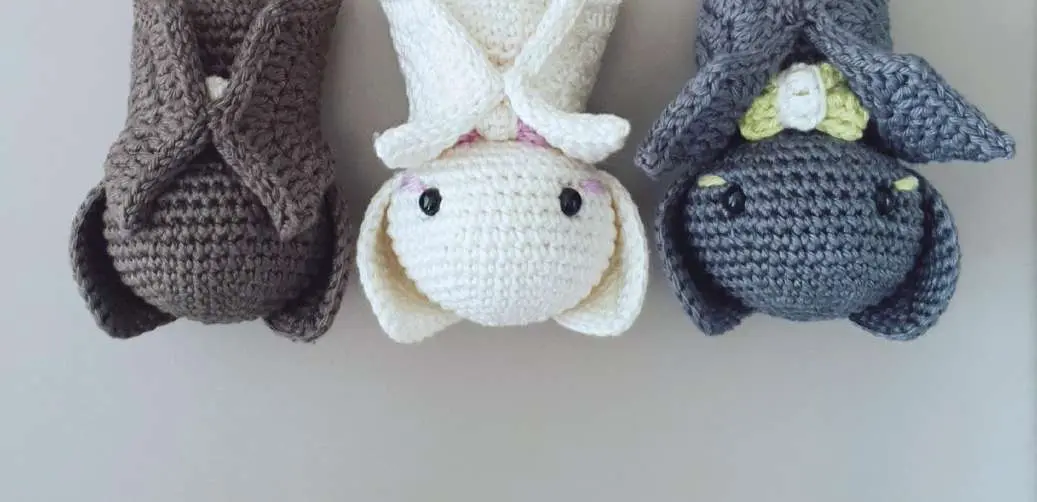
Yes. The sample shows gray, olive and white bats with lime, apricot and orchid bow ties. Pick any main color and accent color you like.
💡 Tick off each round as you go. Your progress isn't saved when you leave the page.
You might also like
Connect with me
Follow along for daily pattern finds and cozy inspiration.