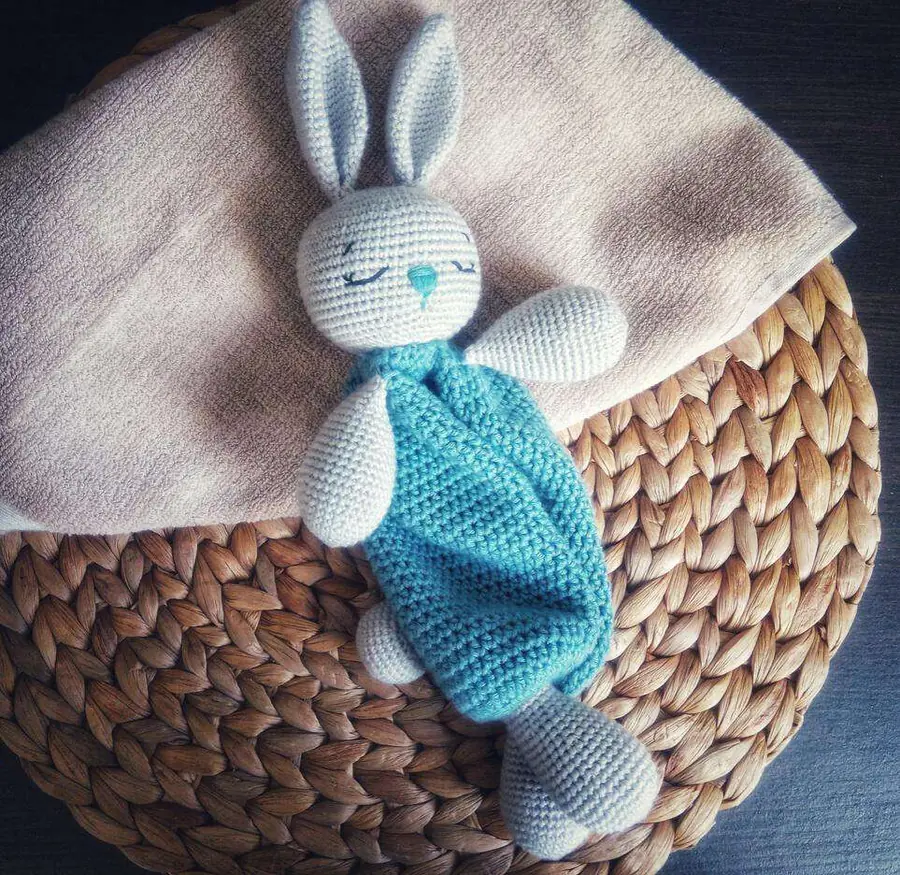
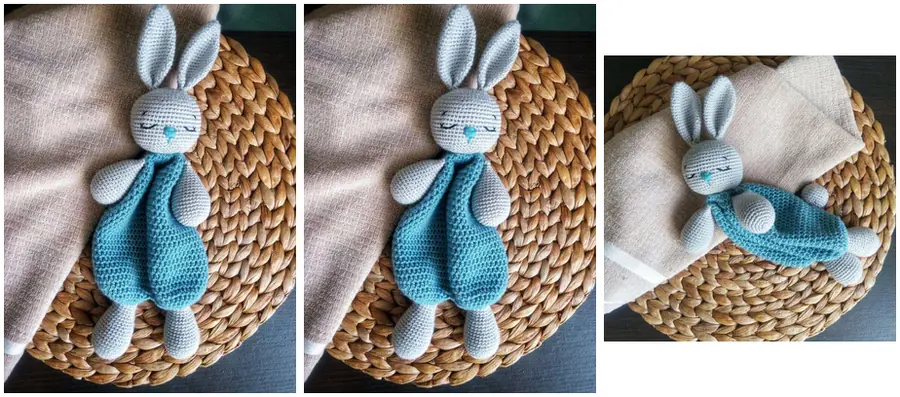
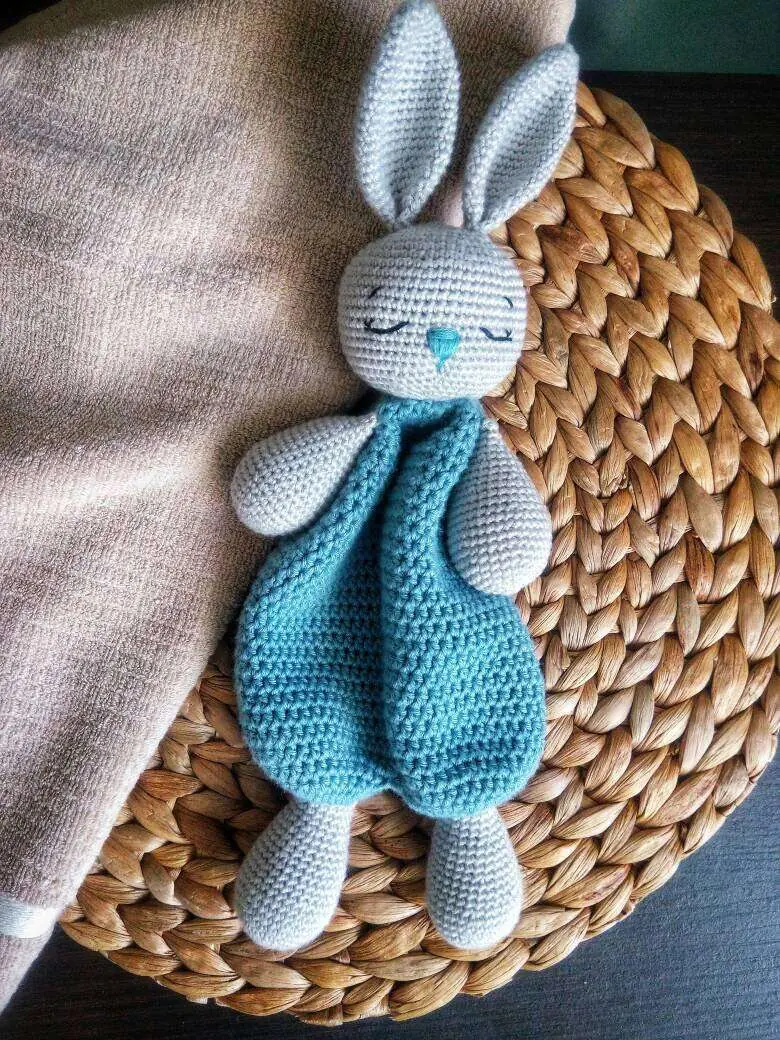
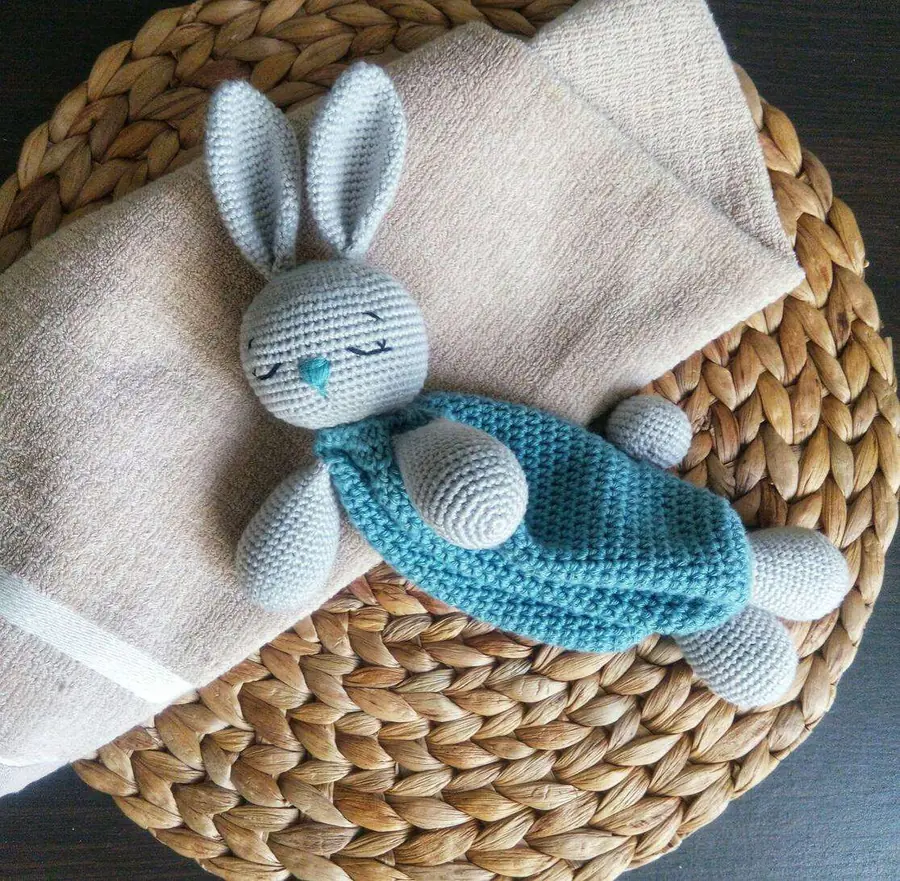
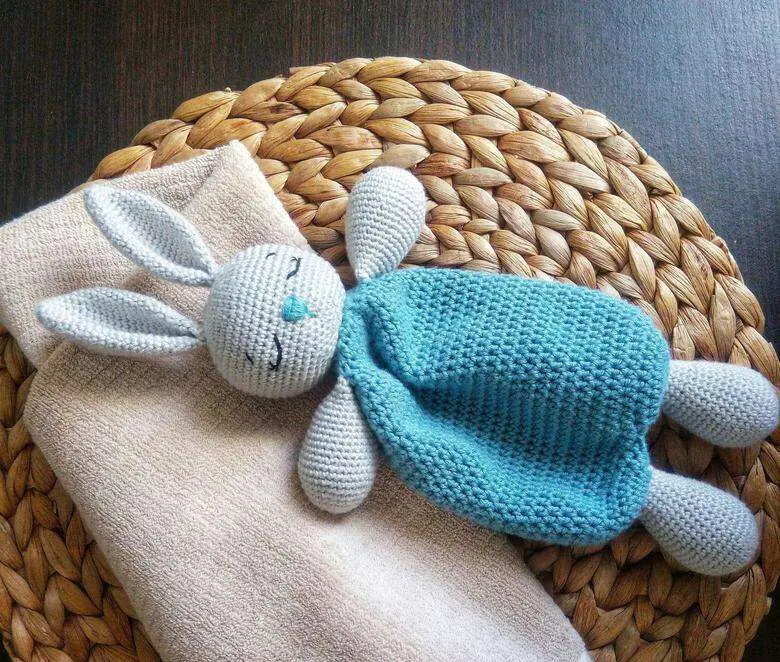
Photo of the finished toy, made from this pattern.
Crochet a sleepy bunny lovey with gray head and limbs and a teal body. Full free pattern with stitch counts and photos.
This pattern will help you make a cute toy yourself: a sleepy Bunny Lovey with a gray head, ears and limbs and a soft teal body. Everything is worked in the round with simple stitches, so the shapes come together quickly once you have the parts ready.
You will crochet the head, ears, legs and tail in gray, then the teal body, and finally sew everything together and embroider the face. Every round is written out below with its stitch count, so you can check your work as you go.
Difficulty: medium. You should be comfortable with the magic ring, increases and decreases, and sewing pieces together.
New to toy making? Read what amigurumi is and how the technique started, or browse more amigurumi patterns on CrochetLuma.
Skill levelMedium
TimeA weekend
Hook2.5 mm and 3.0 mm
YarnGray and teal blue cotton-bamboo yarn
Materials
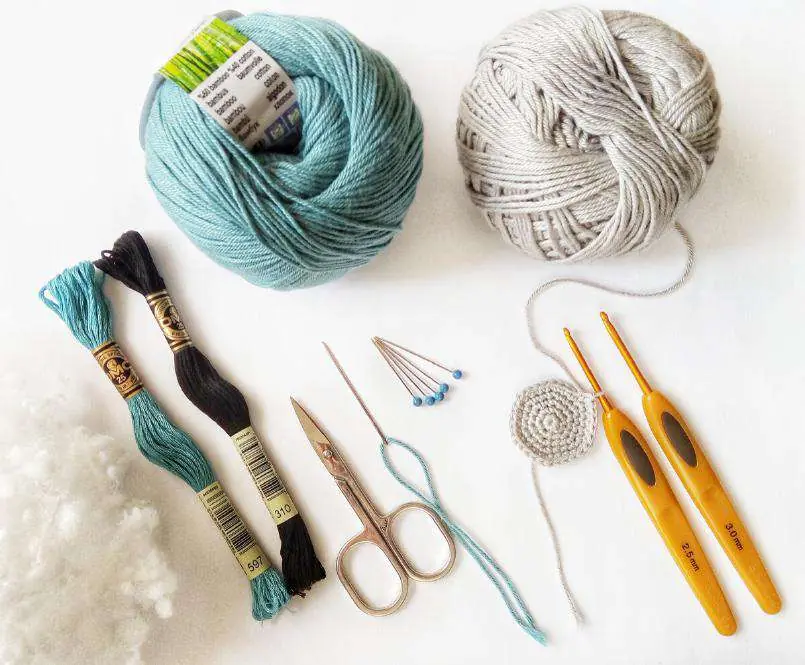
Hook: 2.5 mm (B) and 3.0 mm
Yarn in gray and teal blue. The sample uses Himalaya Deluxe Bamboo, colors 124-19 and 124-24 (a 100 g ball is about 250 m / 275 yd)
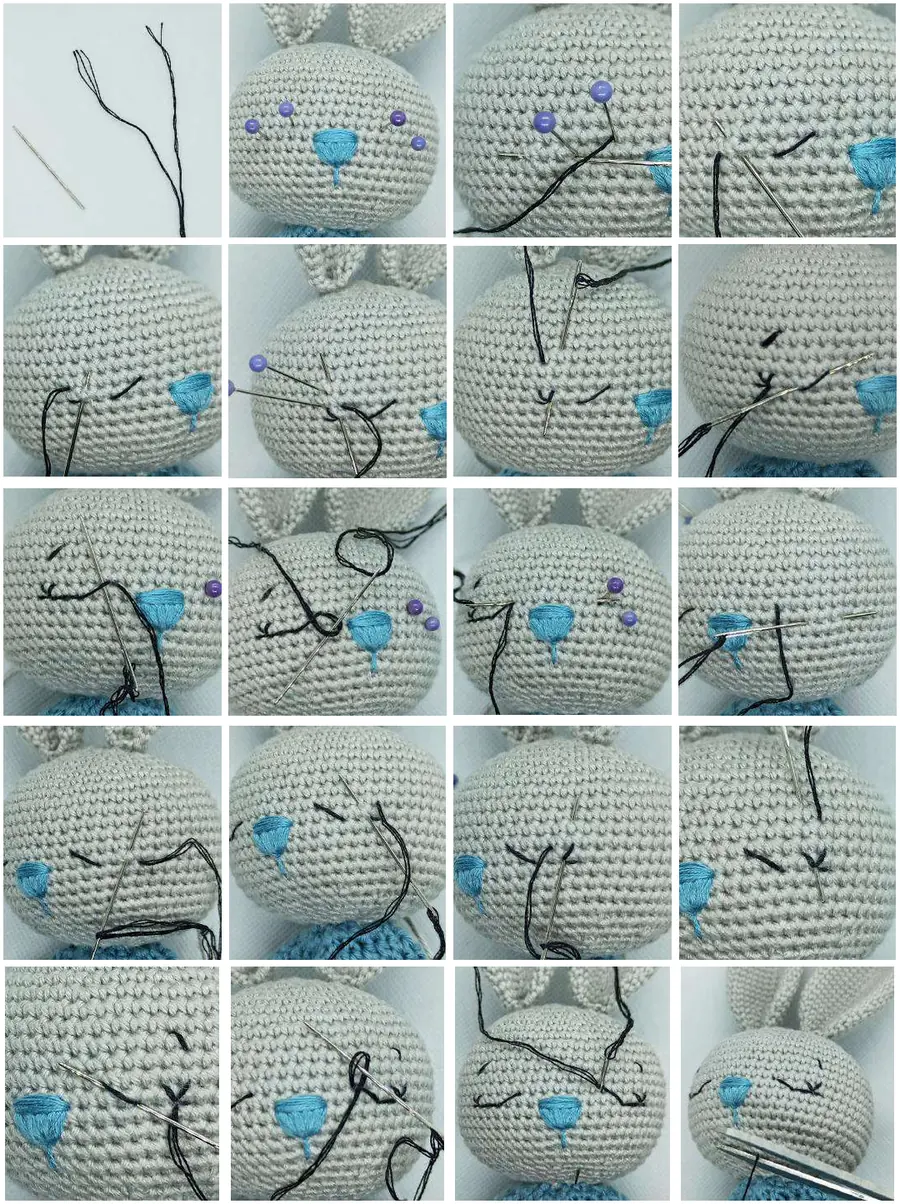
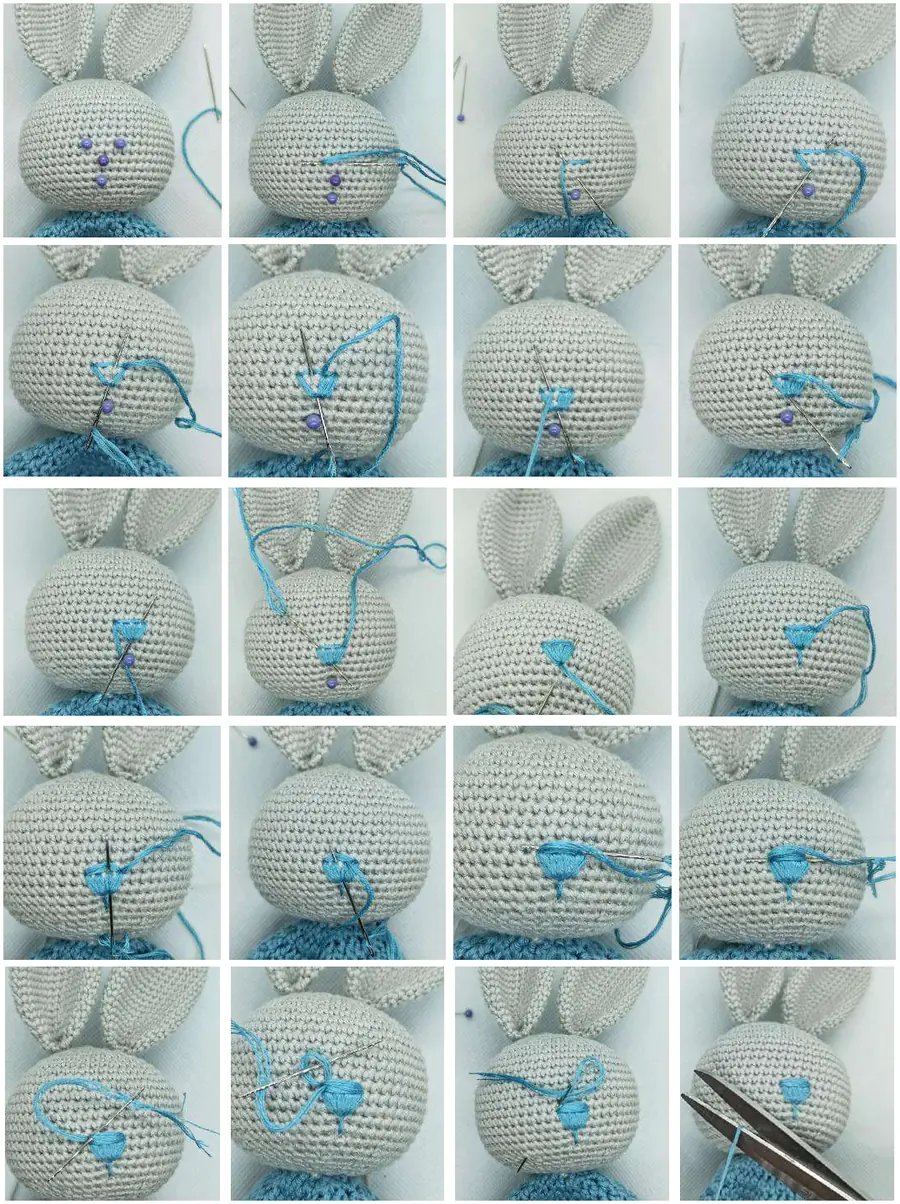
DMC floss in black (310) and teal blue (597), for the eyes and nose
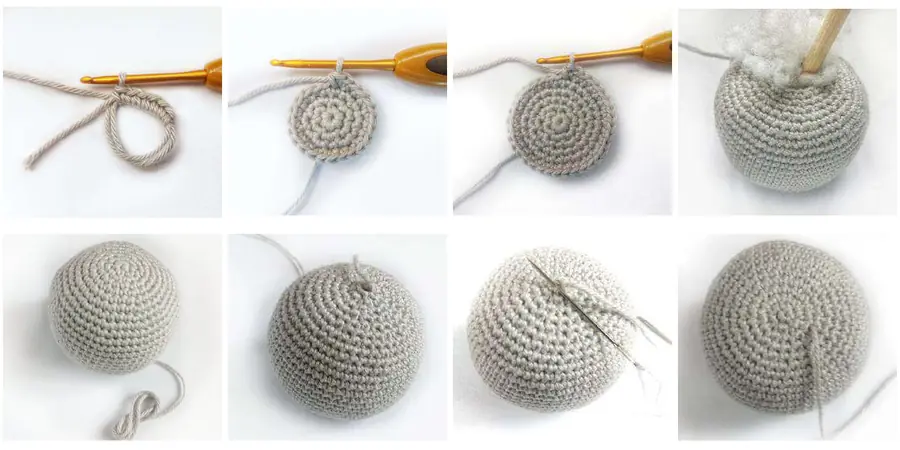
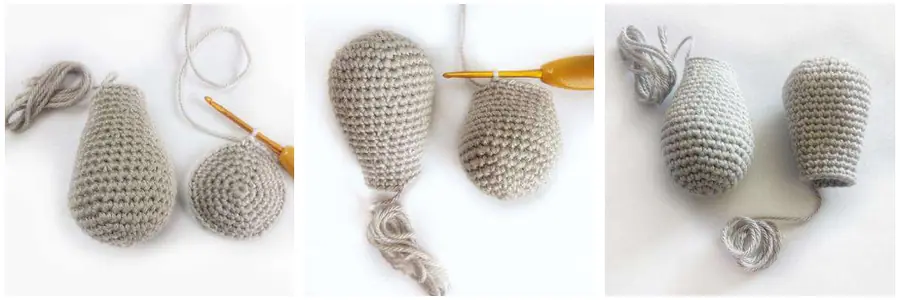
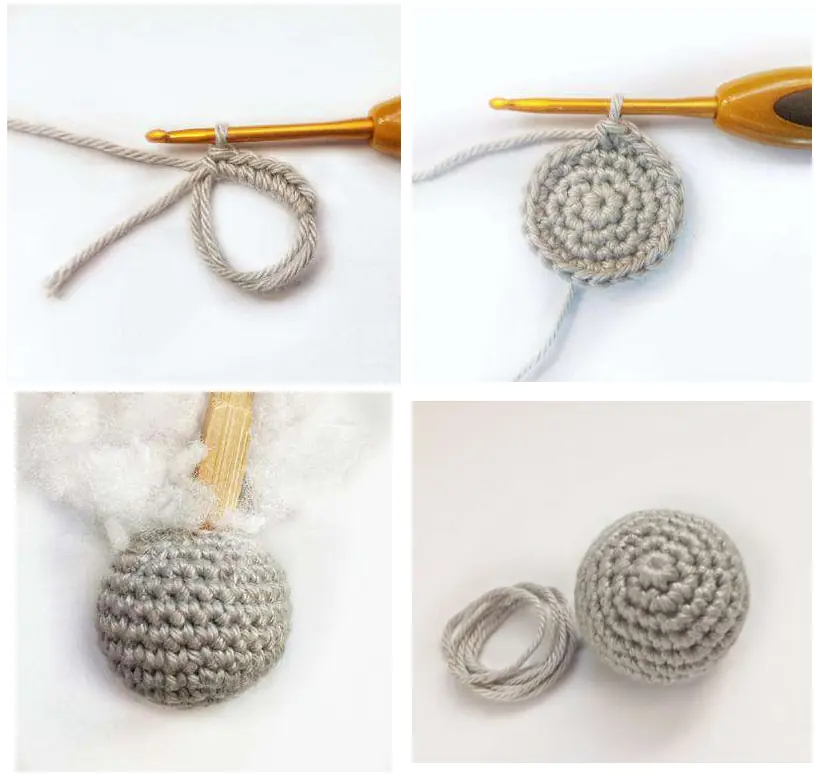
Gray yarn and a 2.5 mm hook. Worked in a spiral (no joining, no turning chain). Mark the start of the round with a stitch marker.
2. Ears (make 2, gray)
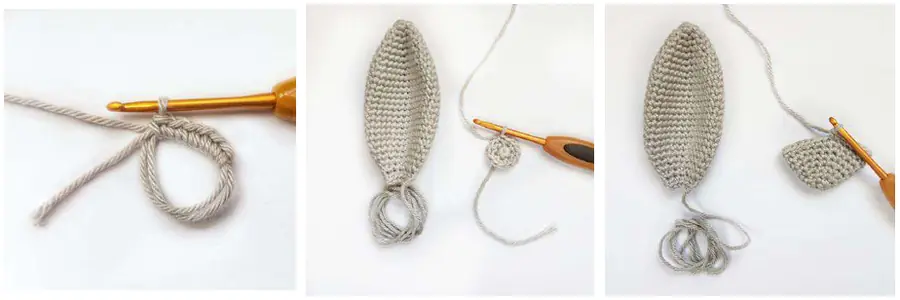
Gray yarn and a 2.5 mm hook. Worked in a spiral (no joining, no turning chain). The ears are not stuffed.
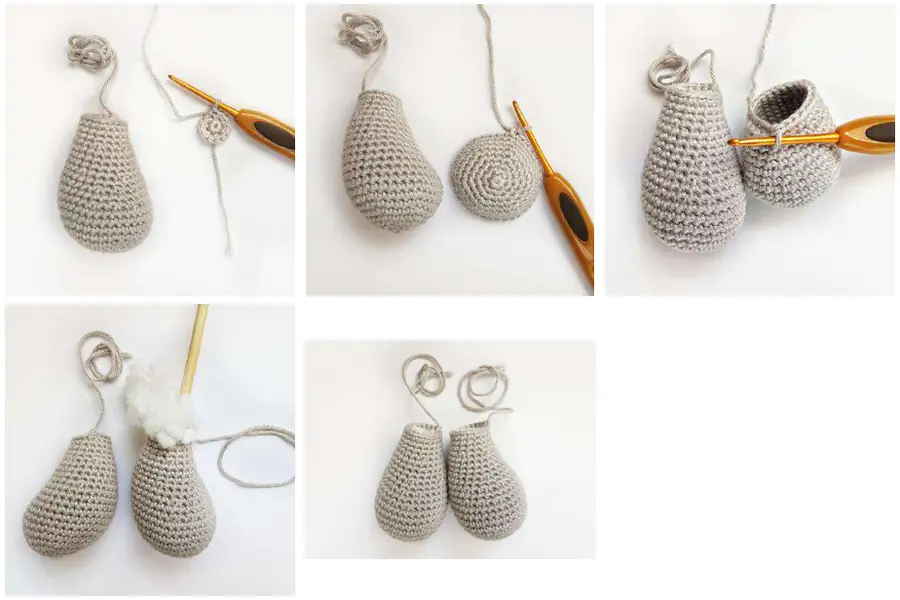
3. Forelegs (make 2, gray)
Gray yarn and a 2.5 mm hook. Worked in a spiral (no joining, no turning chain).
4. Hind legs (make 2, gray)
Gray yarn and a 2.5 mm hook. Worked in a spiral (no joining, no turning chain).
5. Tail (gray)
Gray yarn and a 2.5 mm hook. Worked in a spiral (no joining, no turning chain).
6. Body (teal blue)
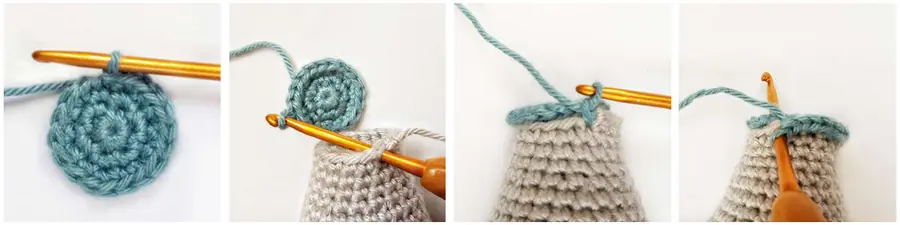
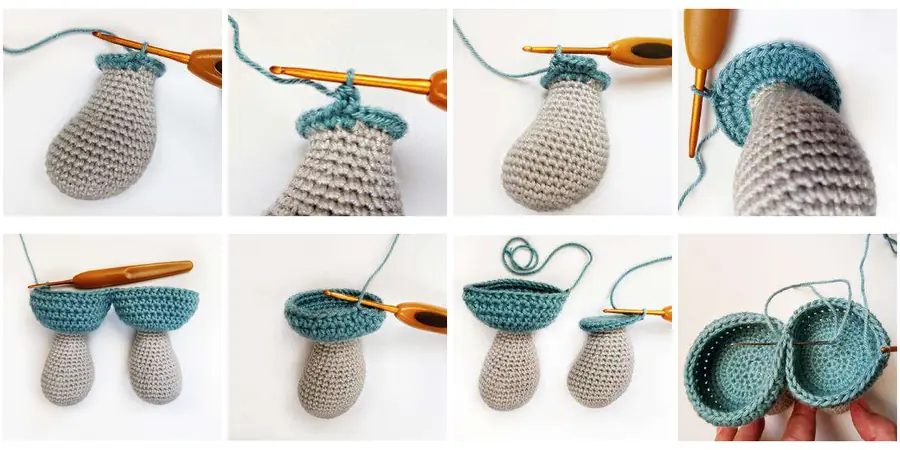
Teal blue yarn, a 2.5 mm hook to start and a 3.0 mm hook from Rnd 5. Each round starts with a turning chain (ch) and ends with a sl st to join. The body is worked as two trouser legs that are then joined into one tube. The hind legs from part 4 are crocheted into the first rounds.
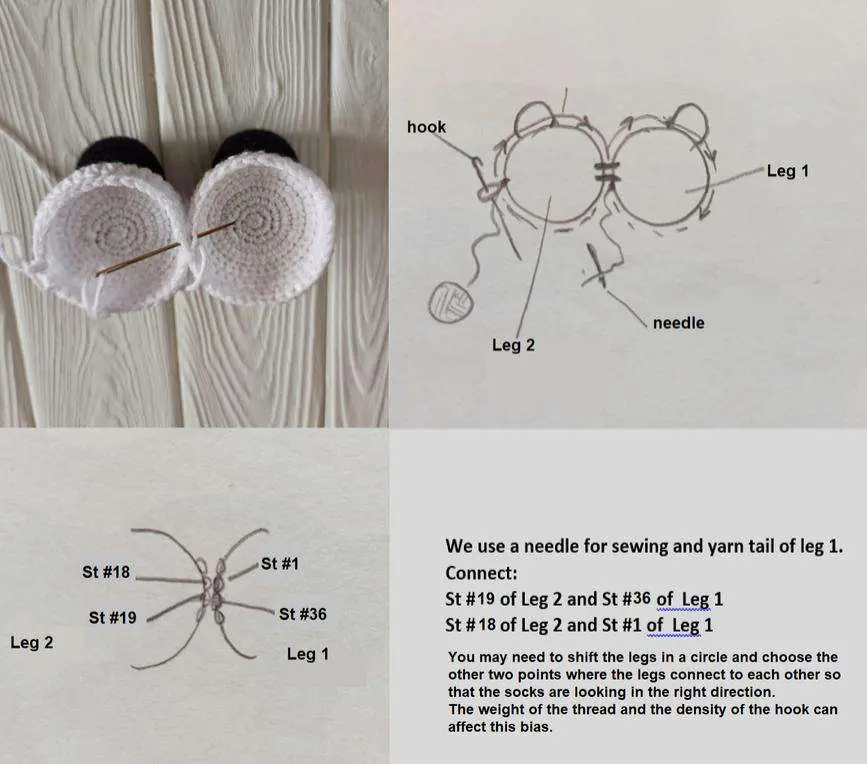
Joining the legs. Use the yarn end of the first leg and connect both legs with two stitches: join the 1st loop of Rnd 7 of leg 1 to the 18th loop of Rnd 7 of leg 2, and the last loop of Rnd 7 of leg 1 to the 19th loop of Rnd 7 of leg 2. Then keep crocheting on the second leg.
7. Body, continued
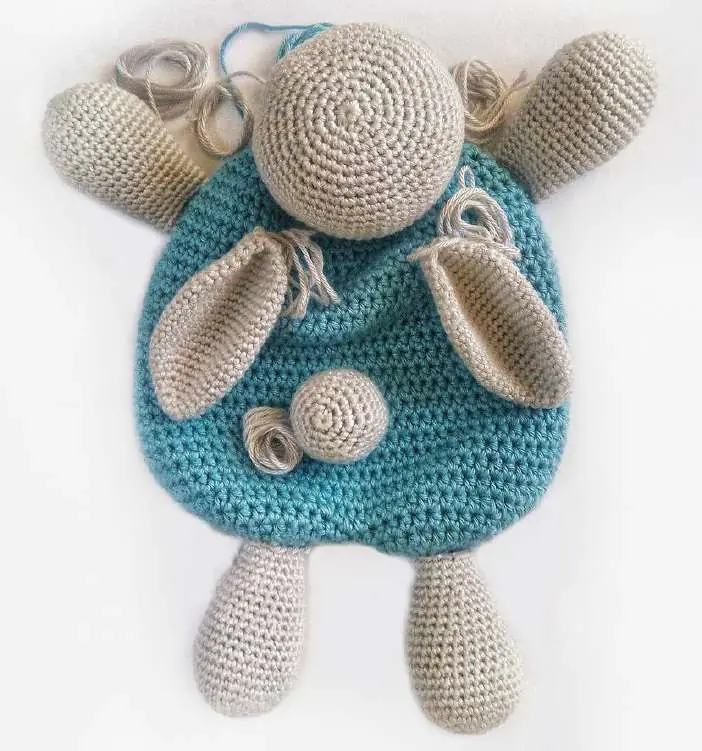
8. Assembly
Pin the pieces in place first, so you can check the position before you sew.
Congratulations! Your sweet bunny is ready.
Tips for a neat result
Crochet with tight stitches so the stuffing does not show through. Use a hook smaller than the yarn label suggests.
Mark the start of every spiral round with a stitch marker.
Stuff firmly, a little at a time, and use a chopstick to push filling into the corners.
Pin the head, ears and legs in place and check the look before you sew.
New to the stitches? The crochet overview explains the basic stitches and terms used here.
A smooth cotton or bamboo yarn works well, because it gives tight stitches that hide the stuffing. Any yarn of the same weight will do, as long as you adjust the hook so the fabric is firm.
How big is the finished bunny?
The size depends on your yarn and tension. With the 2.5 mm and 3.0 mm hooks and the yarn above, it makes a soft toy a child can hold with both arms.
Is the bunny safe for babies?
The face is embroidered, so there are no small parts to pull off. Sew the ears, limbs and tail on very firmly, and check them often.
Do I need to know the magic ring?
Yes, every part starts with one. If you cannot do it yet, start with ch 2 and work 6 sc into the 2nd chain from the hook.
💡 Tick off each round as you go. Your progress isn't saved when you leave the page.
I share verified free crochet patterns to help you find inspiration for your next blanket, amigurumi, hat or handmade gift, and bring them together here so you can skip the endless scrolling and start making.