Home / Amigurumi
Amigurumi
Crochet Bunny with Colorful Ears Free Pattern
By Luma · October 6, 2026
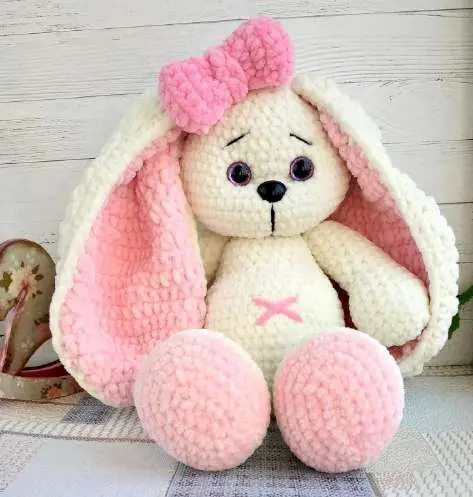
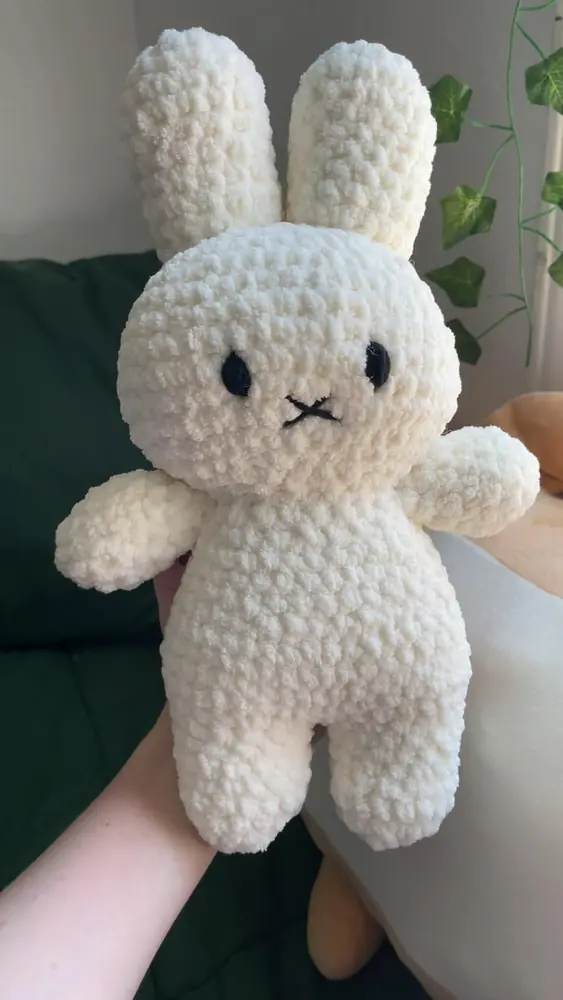
🐰 Photo of the finished toy, made from this pattern.
Crochet a plush bunny with long pink-lined ears, a bow and pink feet. Free pattern with every round, stitch counts and photos.
This plush bunny with colorful ears is worked in soft velvet-style yarn. The body and head are made as one piece, then you add pink-soled legs, arms, lined ears, a tail and a bow. With the suggested yarn the finished toy is about 65 cm tall, ears included.
Every round is written out below with its stitch count, and the photos show the tricky steps.
If you like making stuffed toys, you may also enjoy our Bunny Lovey and more amigurumi patterns . New to the technique? Read about amigurumi first.
Skill level Intermediate
Time A weekend
Hook 4 mm
Yarn Himalaya Dolphin Baby plush yarn
Materials
Himalaya Dolphin Baby plush yarn (100% polyester, 120 m / 100 g) or similar, in cream, light pink and bright pink Black embroidery thread (cotton or acrylic), for the muzzle Glitter safety eyes, 9 mm Nose, 19 mm wide Hook size 4 mm Stitch markers Soft stuffing (fiberfill or polyester stuffing) Tapestry needle Crystal glue (Moment Crystal from Henkel) Scissors Abbreviations (US terms)
ml: magic loop · ch: chain · sc: single crochet · hdc: half double crochet · inc: increase · dec: decrease · sl st: slip stitch · [ ] x…: repeat the instructions in brackets that many times · R: round or row
Instructions
1. Body
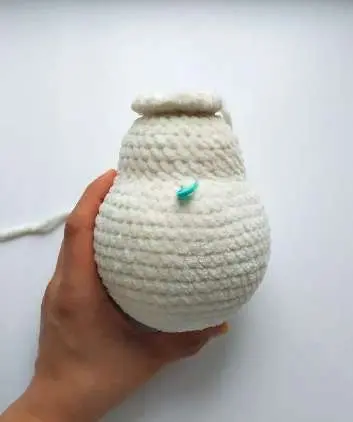
Cream yarn. Stuff the body as you go. The body and head are made as one piece.
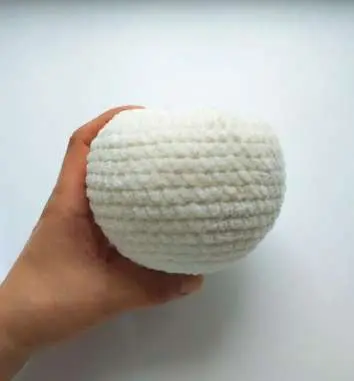
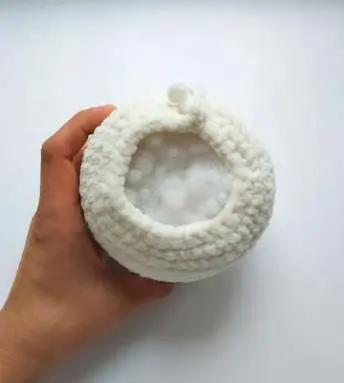
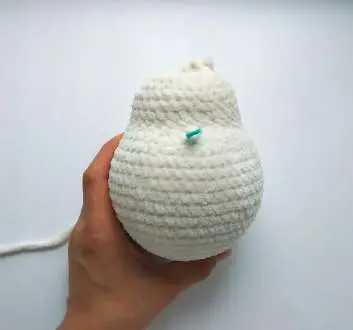
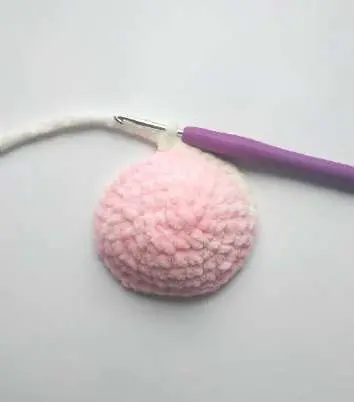
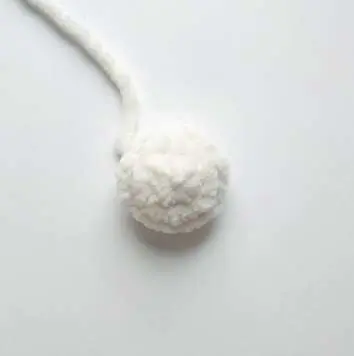
R1: 6 sc in ml (6) R2: inc x6 (12) R3: [1 sc, inc] x6 (18) R4: [2 sc, inc] x6 (24) R5: [3 sc, inc] x6 (30) R6: [4 sc, inc] x6 (36) R7: sc across (36) R8: [5 sc, inc] x6 (42) R9: [6 sc, inc] x6 (48) R10–16 (7 rounds): sc across (48) R17: [6 sc, dec] x6 (42) R18: [5 sc, dec] x6 (36) R19: 3 sc, 6 dec, 21 sc (30). This is the belly. Place a stitch marker between the 3rd and 4th dec. It will guide you when you sew the muzzle. R20–23 (4 rounds): sc across (30) R24: [3 sc, dec] x6 (24) R25: sc across (24) R26: dec x12 (12) Remember to stuff.
2. Head
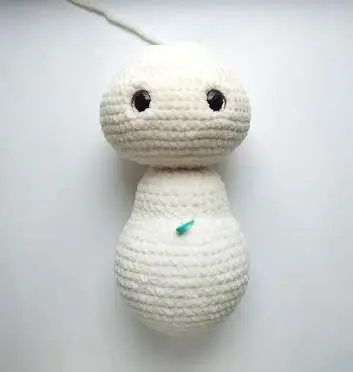
Now make the head, still in cream. Stuff as you go, and stuff the neck (between R26 and R27) well so the head is not wobbly.
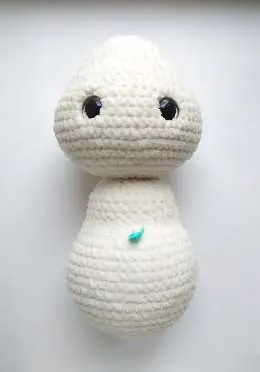
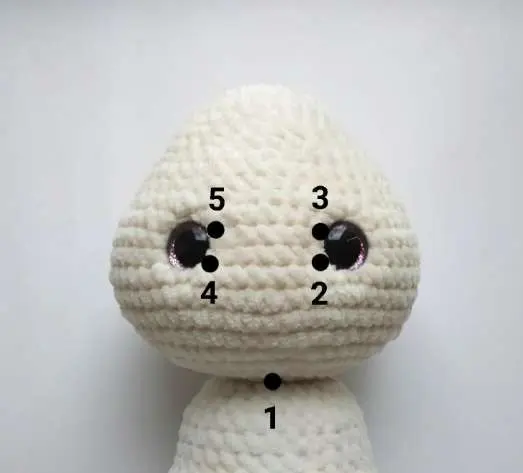
R27: inc x12 (24) R28: [1 sc, inc] x12 (36) R29: [5 sc, inc] x6 (42) R30: [6 sc, inc] x6 (48) R31: [7 sc, inc] x6 (54) R32: [8 sc, inc] x6 (60) R33–37 (5 rounds): sc across (60) R38: [8 sc, dec] x6 (54) R39: [7 sc, dec] x6 (48) R40: [6 sc, dec] x6 (42) R41: sc across (42) R42: [5 sc, dec] x6 (36) R43: [4 sc, dec] x6 (30) R44: sc across (30) R45: [3 sc, dec] x6 (24) R46: sc across (24) Stuff the head tightly, but not so much that you cannot cinch it later. Place the eyes, using the center of the belly (the marker) as your guide. You can put them higher or lower, closer or farther apart. The designer places them between R35 and R36, 7–8 stitches apart. R47: [2 sc, dec] x6 (18) R48: [1 sc, dec] x6 (12) R49: dec across, fasten off. Weave in the ends.
3. Legs (make 2)
Stuff the legs as you go. Start with light pink yarn.
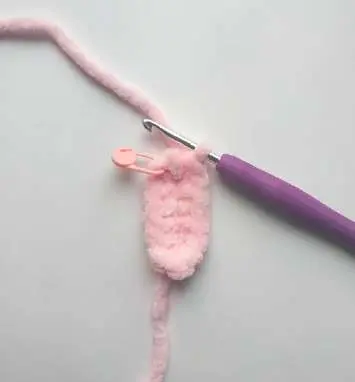
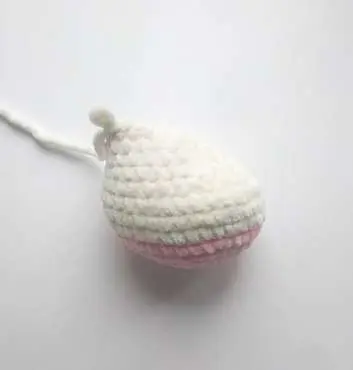
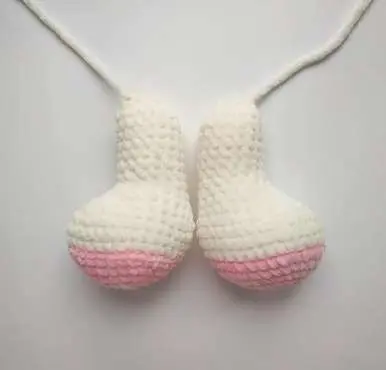
ch 7 R1: starting in the 2nd ch from hook, work in rounds: 5 sc, 3 sc into the last ch, 4 sc, inc (14) R2: inc, 4 sc, 3 inc, 4 sc, 2 inc (20) R3: 1 sc, inc, 5 sc, inc, 3 sc, inc, 5 sc, inc, 2 sc (24) R4: 2 sc, inc, [5 sc, inc] x3, 3 sc (28) R5: [1 sc, inc] x2, 5 sc, inc, 1 sc, inc, 3 sc, inc, 1 sc, inc, 5 sc, inc, 1 sc, inc, 2 sc (36) Change to cream. R6: work through the BACK loop: sc across (36) R7–8 (2 rounds): sc across (36) R9: 9 sc, dec, [1 sc, dec] x5, 8 sc, dec (29) R10: 8 sc, 2 dec, 3 sc, 2 dec, 8 sc, dec (24) R11: 8 sc, 4 dec, 8 sc (20) R12: 6 sc, dec, 4 sc, dec, 6 sc (18) R13: 7 sc, 2 dec, 7 sc (16) R14–20 (7 rounds): sc across (16) R21: dec x8 (8) Make 2 sc, then fold the upper edge in half and make 4 sc into both edges. Fasten off, leaving a tail for sewing.
4. Arms (make 2)
Cream yarn. Stuff the arms as you go.
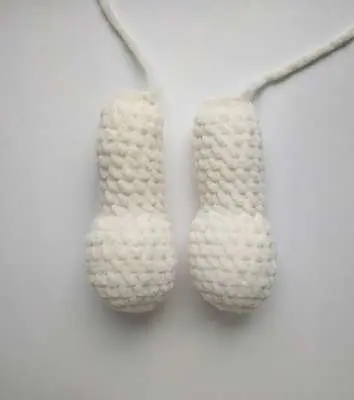
ch 4 R1: starting in the 2nd ch from hook, work in rounds: 2 sc, 3 sc into the last ch, 1 sc, inc (8) R2: inc, 1 sc, 3 inc, 1 sc, 2 inc (14) R3: 1 sc, inc, 3 sc, inc, [1 sc, inc] x2, 3 sc, inc (19) R4–8 (5 rounds): sc across (19) R9: 7 sc, dec, 1 sc, dec, 7 sc (17) R10: 4 sc, 2 dec, 1 sc, 2 dec, 4 sc (13) R11–19 (9 rounds): sc across (13) R20: dec x6 (7) Make 2 sc, then fold the upper edge in half and make 3 sc into both edges.
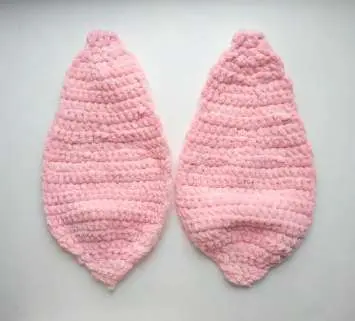
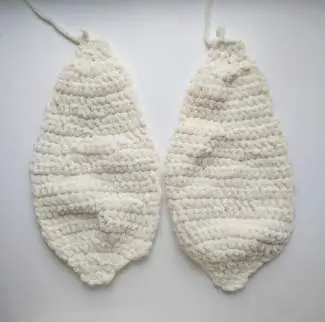
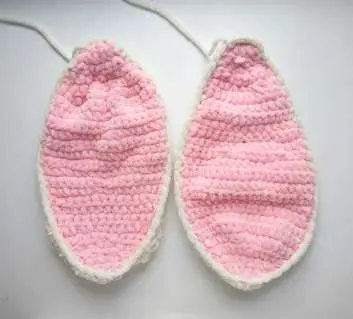
5. Ears (make 4)
Make 4 pieces: 2 in light pink and 2 in cream. Work in turning rows in hdc, turning at the end of each row. Use sc for the decreases.
ch 4 R1: starting in the 2nd ch from hook, 2 inc, turn (4) R2: 2 ch, inc, 2 hdc, inc, turn (6) R3: 2 ch, [inc, 1 hdc] x3, turn (9) R4: 2 ch, [inc, 1 hdc] x4, inc, turn (14) R5: 2 ch, [inc, 2 hdc] x4, inc, 1 hdc, turn (19) R6–10 (5 rows): hdc across (19) R11: 2 ch, [7 hdc, inc] x2, 3 hdc, turn (21) R12: hdc across (21) R13: 2 ch, [7 hdc, dec] x2, 3 hdc, turn (19) R14: 2 ch, [6 hdc, dec] x2, 3 hdc, turn (17) R15: 2 ch, 8 hdc, dec, 7 hdc, turn (16) R16: 2 ch, 7 hdc, dec, 7 hdc, turn (15) R17: 2 ch, dec, 11 hdc, dec, turn (13) R18–20 (3 rows): hdc across (13) R21: 2 ch, 5 hdc, 2 dec, 4 hdc, turn (11) R22: 2 ch, [2 hdc, dec] x2, 1 hdc, dec, turn (8) R23: 2 ch, 1 hdc, 2 dec, 1 hdc, dec, turn (5) R24: 2 ch, 2 hdc, dec, 1 hdc, turn (4) R25: hdc across (4) Do NOT fasten off the cream yarn. Place a pink piece on top of a cream one and sc with the cream yarn into each stitch through both pieces. Leave a tail for sewing.
Tips for a neat result Mark the start of each round with a stitch marker. Stuff the neck firmly so the head does not wobble, but leave room to cinch the muzzle. Place the safety eyes before the last rounds of the head, and check the position from the front. Use a glue made for toys when you attach the nose, and let it dry fully. Need a refresher on the stitches? The crochet overview covers the basics. More bunny patterns Looking for a smaller project? Make the sleepy Bunny Lovey with a teal body, or browse 12 ideas in our Miffy crochet roundup . More rabbits are in Bunny Crochet .
Frequently asked questions How big is the finished bunny? About 65 cm with the ears, when you use the suggested plush yarn and a 4 mm hook.
Can I use a different yarn? Yes. Any plush or velvet-style yarn of a similar weight works. A different thickness changes the size, so check your hook and the size of the pieces as you go.
Is this bunny suitable for a small child? Safety eyes and a glued nose are not recommended for babies. For a young child, embroider the eyes and the nose instead.
💡 Tick off each round as you go. Your progress isn't saved when you leave the page.
Print pattern
More Amigurumi
Hi, I'm Luma
I share verified free crochet patterns to help you find inspiration for your next blanket, amigurumi, hat or handmade gift, and bring them together here so you can skip the endless scrolling and start making.
More about me →
Connect with me
Follow along for daily pattern finds and cozy inspiration.