Plush Bunny Amigurumi Pattern with Hoodie: Crochet Floppy-Ear Bunny
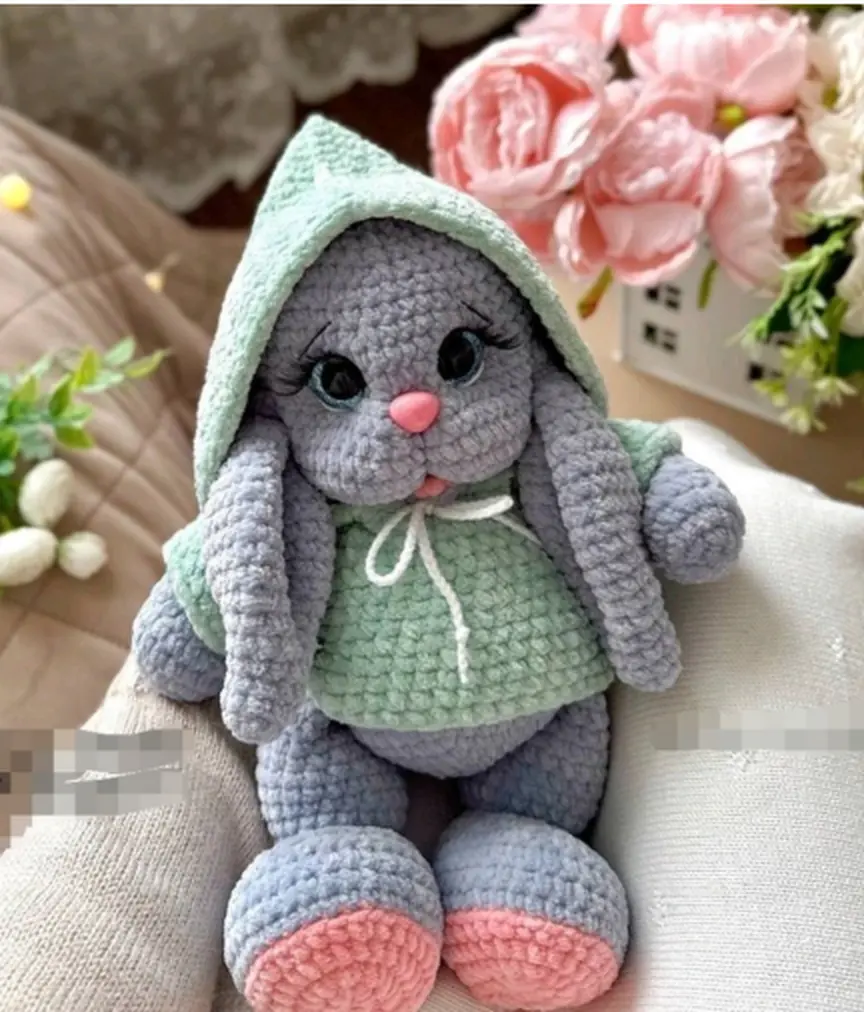
Crochet a plush bunny with floppy ears and a hoodie. Free amigurumi pattern with every round, face details and photos.
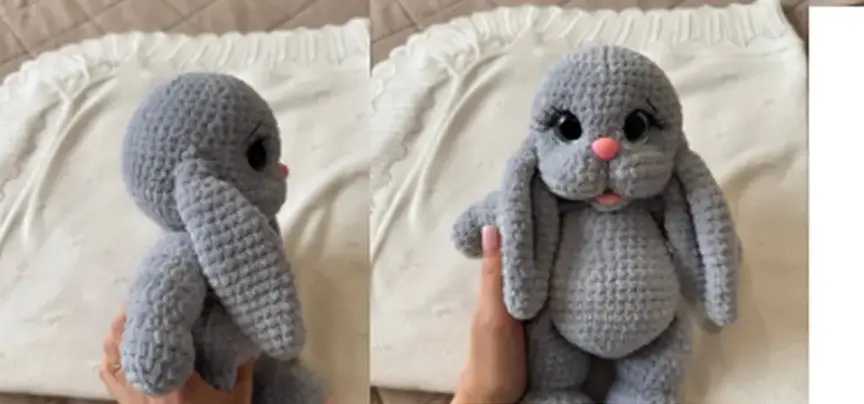
This plush bunny has soft gray fur, long floppy ears, a little pink nose and pink soles on its feet, and it comes with its own mint green hoodie. It is crocheted from separate pieces, with the legs and arms joined to the body as you go.
This page has the full pattern: arms, legs, body, head, muzzle shaping, mouth, eye whites, eyebrows, nose, eyelashes, ears, tail and the hoodie. Every round has its stitch count, and the photos show the key steps.
If you like bunny amigurumi, you may also enjoy our Bunny Lovey and Bunny with Colorful Ears, or browse all bunny crochet patterns.
Materials
- Plush or chenille yarn in light gray (main color) and pink (soles)
- Crochet hook suited to your yarn. Use a hook small enough for tight stitches so the stuffing does not show.
- Stuffing
- Stitch marker
- Tapestry needle and scissors
- Safety eyes (placed between rounds 10 and 11, with 8 sc between the posts)
- A small pink nose
- White thread for cinching (the sample uses GALACES 0.55) and white YarnArt Jeans (2 strands) for the eye whites
- Iris thread for the eyebrows, and a little pink yarn for the mouth
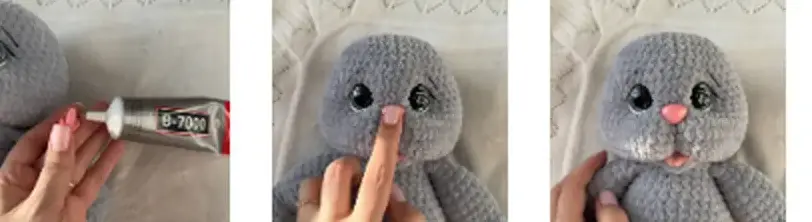
- B-7000 glue and false eyelashes
- YarnArt Jeans (the sample uses it for the ears and the white drawstring)
- Contrasting yarn for the hoodie (mint green in the photos)
- 2 mm hook for the drawstring
Abbreviations (US terms)
MR: magic ring · sc: single crochet · inc: increase (2 sc in the same st) · dec: decrease (2 sc together) · ch: chain · (…) xN: repeat N times · Rnd: round
Plush Bunny Amigurumi Pattern: Step by Step
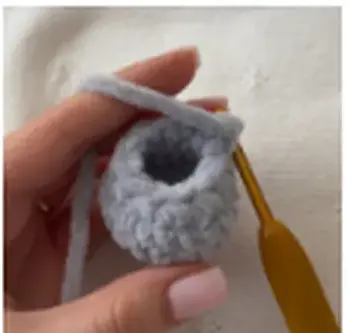
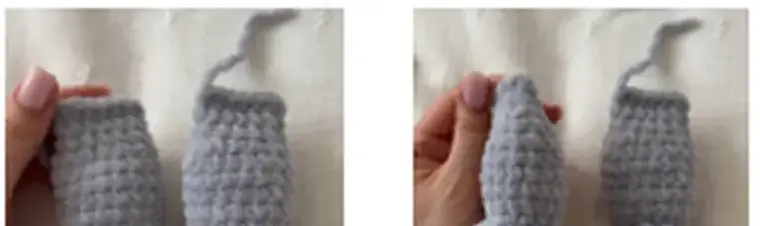
1. Arms (make 2)
2. Legs (make 2)
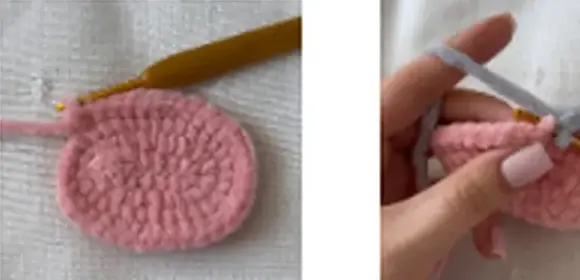
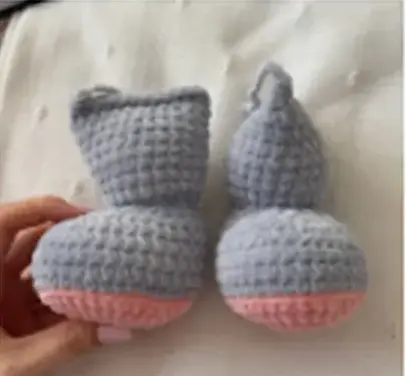
The sole is worked in pink, then you change to the main color for the rest of the leg.
3. Body
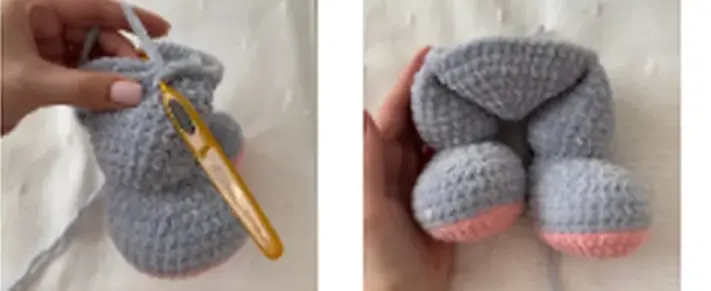
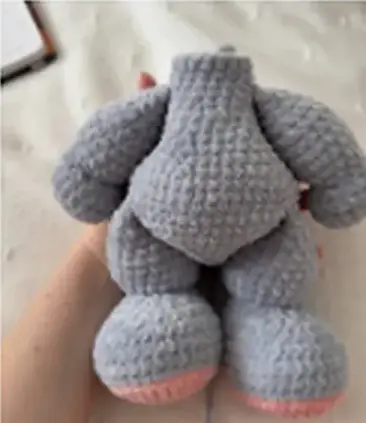
Work in a continuous spiral. The body is crocheted from the bottom up, and the legs are joined into round 10. The arms should sit evenly relative to the legs. Start joining them at the beginning of the round, but if they end up crooked, you can undo the round or crochet a few extra stitches at the start. It helps to mark the arm positions first: mark the center front, 6 stitches, then join the arms at the sides of them.
4. Head
The head is crocheted directly onto the body: round 1 is worked into the 24 stitches of the last body round (the neck). Keep working in a continuous spiral.

5. Shape the muzzle and cheeks
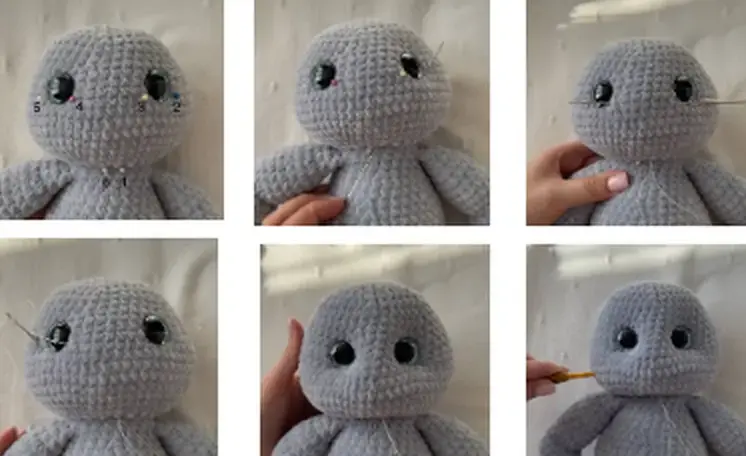
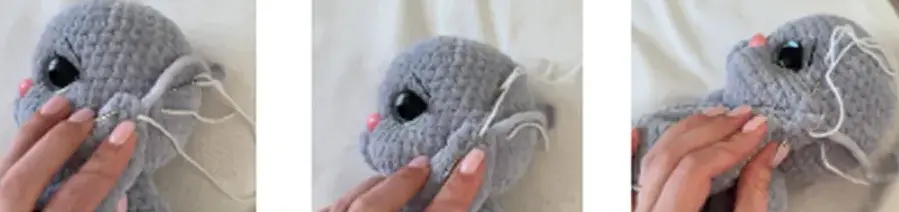
For the cinching, use a white thread (the sample uses GALACES 0.55, one strand, about 20 cm). Mark each step with pins first (zoom into the photos if they are hard to see). Points 1 and 6 are in the center, at the neck, which is the first round of the head.
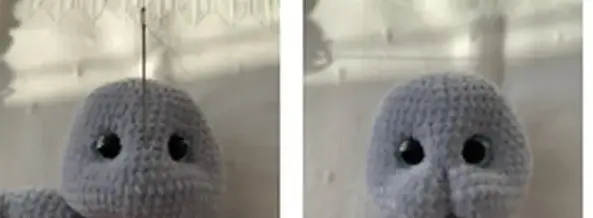
6. Mouth
The mouth is made of two small pieces, an outer part and an inner pink part.


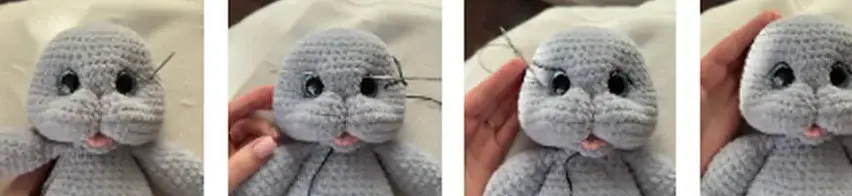
7. Eye whites and eyebrows

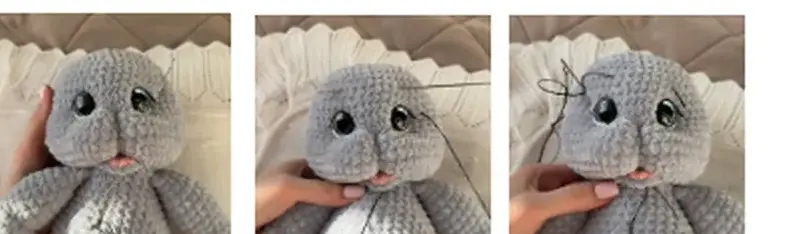
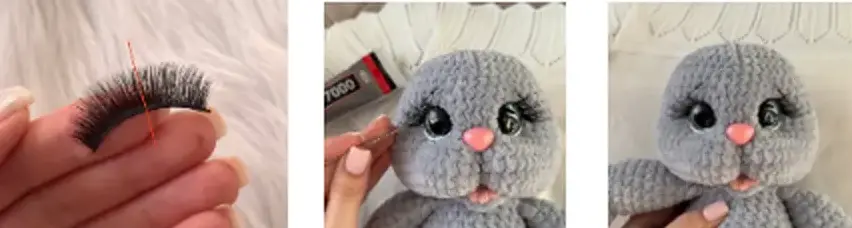
8. Nose and eyelashes
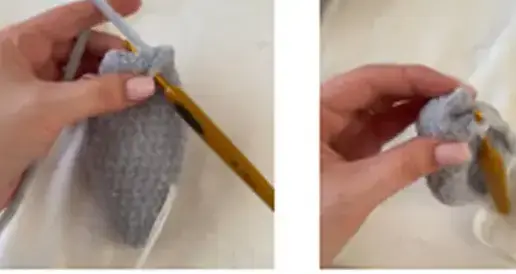
9. Ears (make 2)
The ears are not stuffed. Use the same gray yarn.
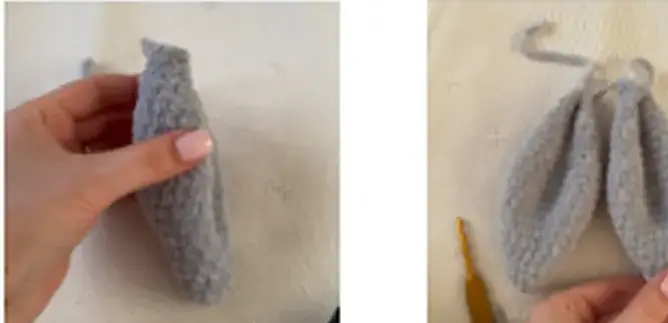
10. Sew on the ears

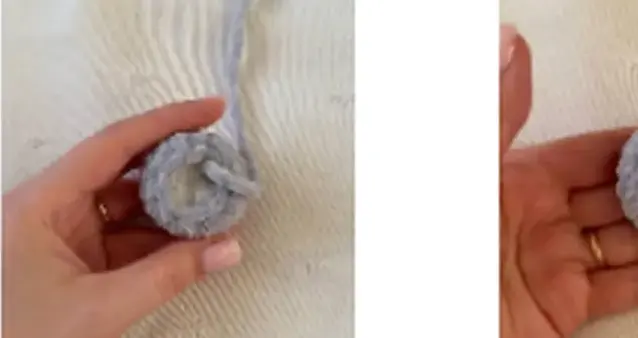
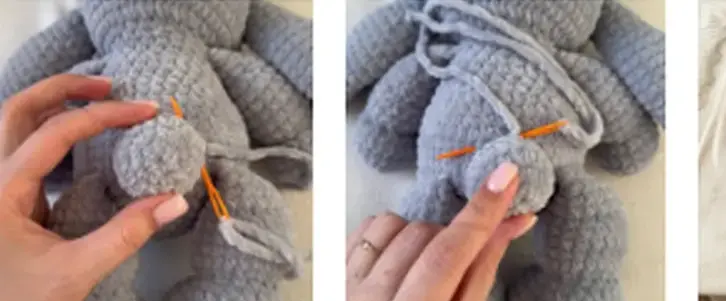
11. Tail
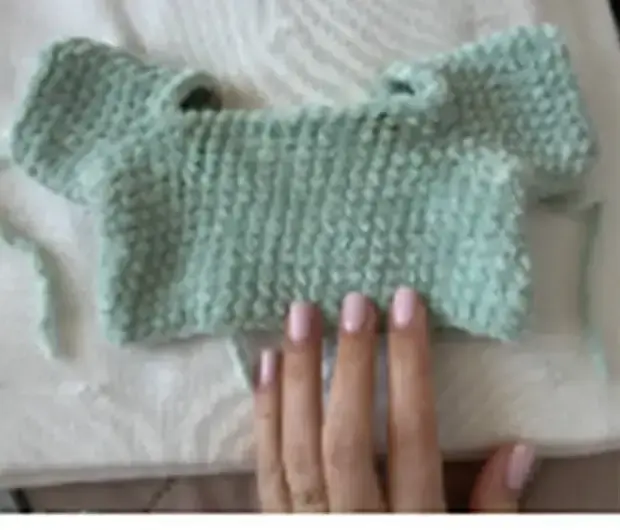
12. Hoodie, body
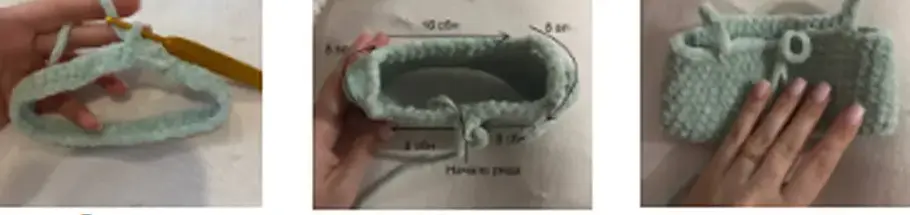
The hoodie is crocheted in a contrasting yarn (mint green in the photos). It is worked in the round with no turning chains. You put it on over the legs.
13. Hoodie, hood
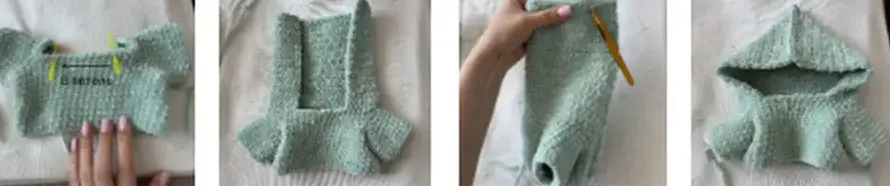
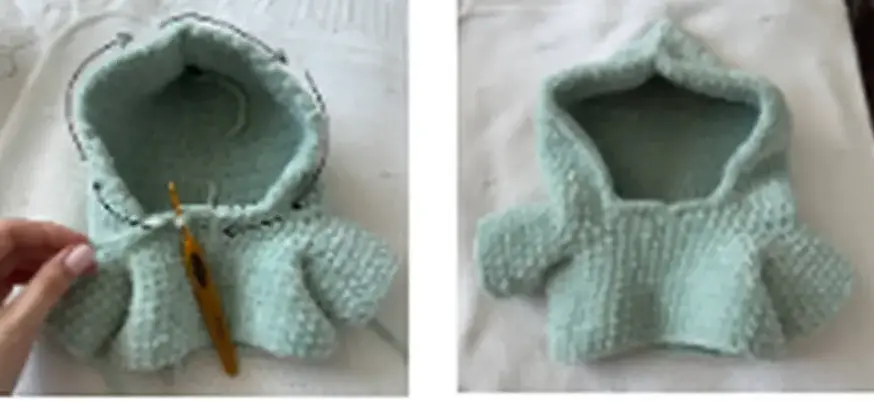
14. Drawstring and finishing


Tips for a neat result
- Crochet with tight stitches and stuff firmly.
- Mark the start of each round with a stitch marker.
- Pin the arms in place first, so they sit level on both sides.
- Stuff the legs to the top before you join them to the body.
- Mark the eye positions with a thread before you insert the safety eyes.
- Use a thin line of glue for the eyelashes, and let it dry before handling the bunny.
- Use a contrasting yarn for the hoodie so it stands out on the gray bunny.
More bunnies to try
Looking for another bunny? Try our Bunny Lovey or the Bunny with Colorful Ears, or browse all bunny crochet patterns.
Frequently asked questions
What yarn is best for this plush bunny?
A soft plush or chenille yarn in light gray, plus a little pink for the soles. Pick a hook that gives tight stitches so the stuffing does not show.
Is this plush bunny pattern beginner-friendly?
It uses only sc, inc and dec, but joining the legs and arms to the body needs some experience. It suits confident beginners and intermediate crocheters.
What does the pattern include?
The bunny's arms, legs, body, head, face details, ears and tail, plus a hoodie with a hood and a drawstring.
How do I put the hoodie on?
The hoodie is worked in the round, so you put it on over the legs, then pull the drawstring through the hood.
💡 Tick off each round as you go. Your progress isn't saved when you leave the page.
You might also like


Connect with me
Follow along for daily pattern finds and cozy inspiration.